Monday 5 March 2018

Kefir, the king, or Queen, of probiotics

Kefir, the king of probiotics.

I don't make this claim lightly. I have watched several programmes and YouTubes on the properties of kefir and I must say that I am convinced that drinking some kefir every day has done me a great deal of good.

Have you seen, Trust Me I'm a Doctor on the BBC? Well, if you can watch the episode on probiotics you will be convinced that  drinking it is the way to go.

Last year I started to have very painful tummy pains after I ate clementines. This really did upset me as I do love a sweet,  juicy clementine. Rather than give up on this treat I decided to investigate what could be causing the problem. Surfing the internet, I came upon KEFIR. I haven't looked back. I bought some and started to produce this probiotic doing in my own kitchen. I make it every two days and I then have enough to last me about three days. Hubby has his on his breakfast cereals rather than drinking it. 
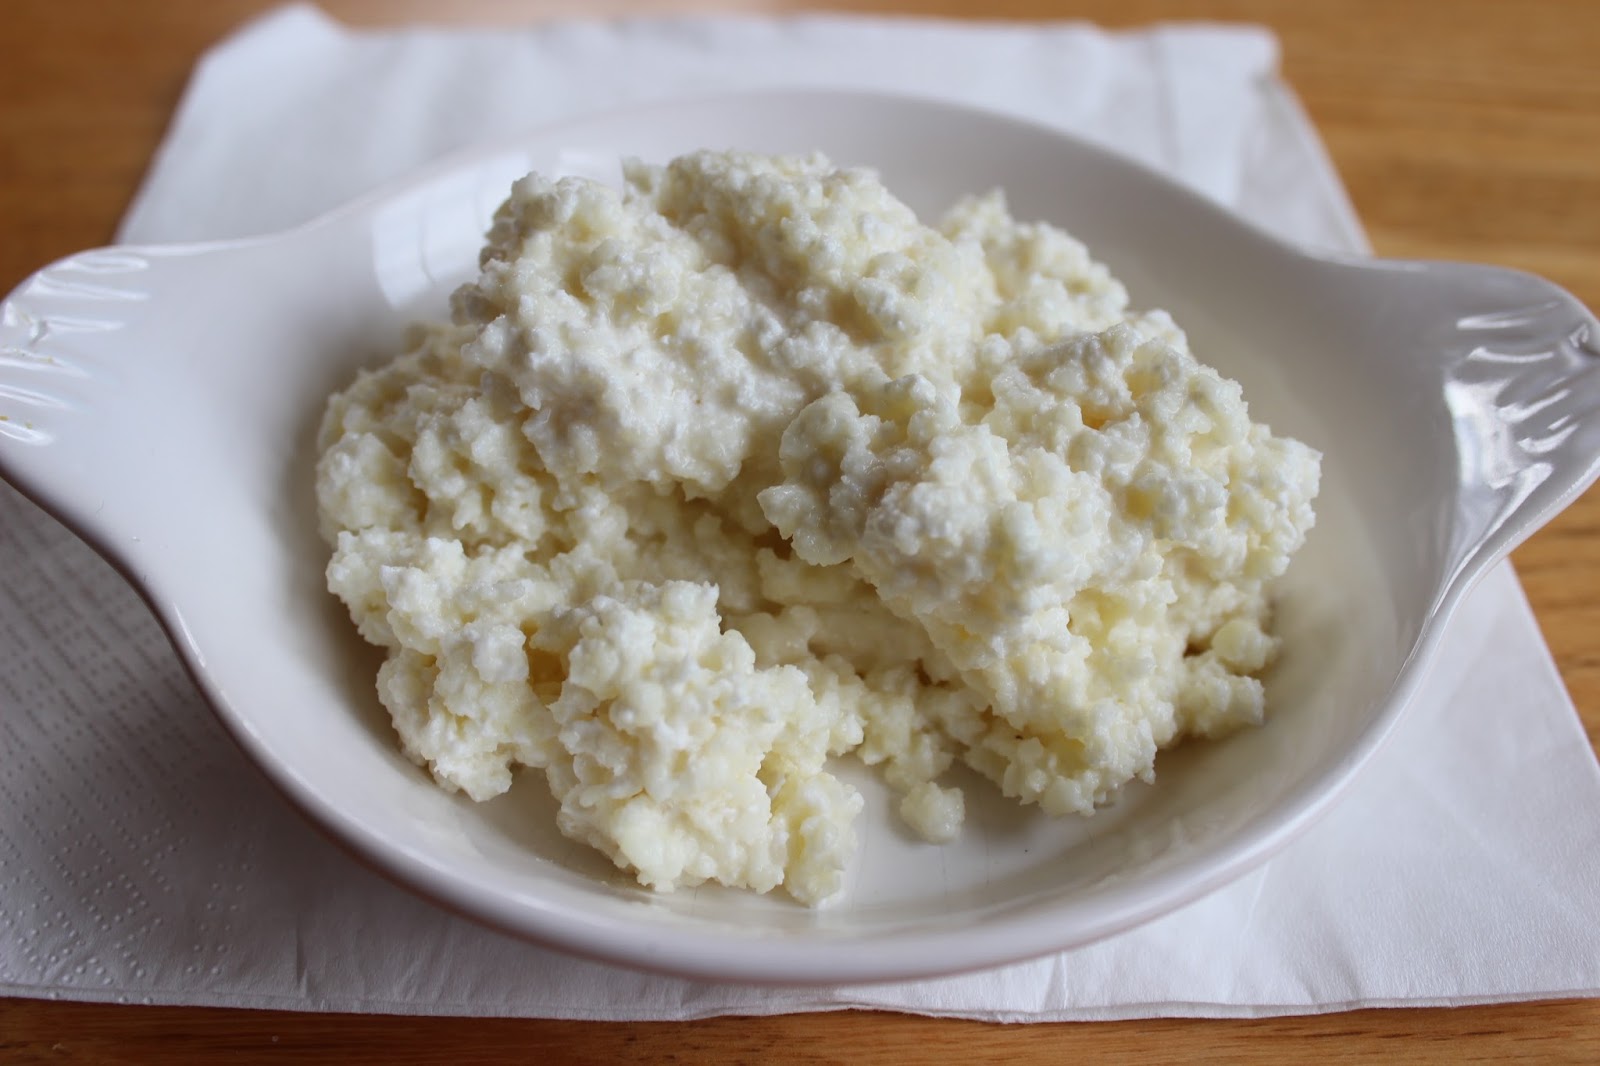
The two pictures below are of the kefir grains that you need to start production.

You don't need this much, I spoonful will do. It will grow and you will have this much after a week or two. 


I have to admit that it is a rather sharp taste as the kefir has used all of the lactic acids in the milk to survive and produce the probiotics. What I do is make the kefir into a delicious fruit shake.

The jar is full of fermented milk. It has not been strained and contains both the grains and milk. It will need to be strained through a plastic sieve before it is drunk.

This is how I drink my kefir in the morning.

I buy 1 pack of berries, frozen are fine and add enough cornflour to thicken it slightly.  (I generally find that 1 kg of fruit will thicken with 1 tablespoon of cornflour.)

Then I add about 3 tablespoons of sugar. 

Mix the above well and microwave on full power until the mix turns from opaque to bright. If you don't cook it properly it will taste powdery.

I use about 250ml of strained kefir and add a generous tablespoonful of fruit. Blend with a stick blender and you will have a delicious breakfast drink.

This is all that I have for breakfast. It keeps me full until lunchtime. 

If you want to buy some grains they are available from eBay:

They are on auction now. 

https://www.ebay.co.uk/itm/162928157705

Friday 6 November 2015

Sweet Little Treats

I wonder how many of you could resist this plate of cakes?


I don't think that I could. In the midddle of November, I have been asked to make cakes for a fashion show audience. I am delighted to do this as I love making cakes. I decided to look back over the cakes that I had made and photographed this summer and I fould this plate of tempting beauties.

Some of the recipes for these cakes have been published earlier in the blog. The sponge drops are here:
Summer in Italy and Sponge Drops

The only thing that I changed for the ones on the plate, was to use apricot jam instead of blackcurrant.

Couldn't find the others so the next couple of posts will be recipes for the other cakes.

Thursday 5 November 2015

Sourdough Bread, Perfected, I think

Kneeding bread is a good exercise. No kneed bread is fine but a little kneeding makes better bread.

IMPORTANT INFO: Using antibacterial spray on your work surfaces prior to kneeding bread will kill the yeast. It makes no difference if it's bakers yeast or sourdough.

Those of you who have been following this blog over the years will know that I have been dabbling with sourdough for quite some time. I've had lots of failures as using sourdough is not as straightforward as using yeast. Now we need a drum roll as I believe that I have it sussed.  The result is a light soft bread with a crunchy crust that is all too good to eat. I just wish that I could share it with you all.

I actually cooked this bread in a cast iron pan as this helps to steam the outside of the loaf and create this crust.


Now, it takes time to make sourdough bread but it doesn't take much effort. A little weighing and mixing and leaving is all you have to know. It's the way that you do theses things that gets the results. You can even go wild and kneed it for a bit. I promise that it will make better bread if you do.

You will need a sourdough starter.

200g (100% hydration starter) This should be active and bubbly.
250g white bread flour
250g wholemeal flour
2 or 3 level teaspoons of salt. This depends on how salty you like your bread.
260g water. I always weigh mine as it is the most accurate way of doing it.

Put everything into a large mixing bowl. Mix together vigorously.

Cover with clingfilm or a damp cloth and leave to stand at room temperature for about half an hour.
Now you will need to lift the dough on one side, pull it up as high as it will go and fold it over  the middle remaining dough. Turn the dough a quarter turn and repeat this. Repeat the turning and pulling until all four sides of the dough have been folded over the middle of the dough.

If you can't be bothered to do this, I have found that if you turn the dough out onto a clean work surface and give it a kneed for about ten minutes, it achieves the same thing.

Cover and set aside for about another half an hour and repeat either of the stages that you choose from above.

Now cover and leave at room temperature for about 12 hours. By this time your bread will have tripled in size. It's a good idea to start this dough in the late evening and leave it overningt to bake next day. This way, you won't be tempted to cook it too early.

Shape your bread and leave to at least double in size. This could take anything up to 4 hours so be prepared to wait.

When you think that your bread is about half an hour away from being ready to cook, put your cast iron pan in the oven and heat the oven to 240C.

Remove the pan from the oven pop in the bread. Slash the top return to the oven with the lid on and bake for about 45 minutes. You should remove the lid about 25 minutes into the bake. This will help to crisp the crust.

Enjoy


Wednesday 30 September 2015

Chestnuts

My husband came in today and asked me if I had seen the hundreds of chestnuts ripening on the tree that over hangs our garden. To be honest, I hadn't looked as the start of the chestnut season brings both pleasure and pain. I love the taste of the fresh chestnuts every year, but I can't deny that they are a pain to get ready and I feel that it is wrong to waste them. Our freezer is still bursting with the cleaned chestnuts that I put in it last year. I hasten to add that I gave some to friends as well as the ones that we ate at the time.

So, watch this space.

If you can suggest recipes I would love to hear about them.

Tuesday 29 September 2015

Pizza on a focaccia base

In the last post I gave you the recipe for focaccia, but what I didn't tell you is that this dough makes an excellent base for pizza.


All I did was roll it out thinner than the focaccia and top it with some:

tomato passata,
stoned olives,
thinly sliced chorizo
grated mozarella cheese
a few dried herbs: origano or thyme

Allow it to rise for about 30 minutes and cook in a very hot oven until brown and bubbling.

One of the advantages of pizza over all other doughs is that you don't have to leave it to get cold before digging in.

Sunday 27 September 2015

Focaccia

I've given this post a simple title but it is another of those foodie things that is simple but tastes wonderful. The wonderful comes from the ingredients. Good olive oil, rosmary from the garden and light bread dough. What could be better?


Well. in truth the addition of mashed potatoes to the dough helps it along quite a bit as it makes it last longer and it has a softer crumb which means that it is good to eat even on the second day.

Traditionally focaccia that you buy in Italy only stays fresh for a couple of hours. It is over yeasted to make it rise but this results in a bread that dries quickly. My Focaccia has the advantage of lasting but still tasting good.

What you will need:
500g strong bread flour
40g instant mash potato, this is about half a sachet.
7g fast action yeast
300ml water for the bread dough and'
150ml boiling water to reconstitute the potato
12g salt

Salamoia
30ml olive oil plus 30mil water
fresh rosmary
1 teaspoon of rock salt.

Into a large bowl put the flour, 300g of water and the yeast. mix to a rough dough, cover and leave for about 10 minutes while you get on with the next stage.

Put the instant mased potatoes in a bowl and reconstitute with 15ml of boiling water. Mix well. You will have a dryish mixture. Do not be tempted to add more water. Add the salt to the potatoes and mix well. Allow to cool for about 5 minutes and then add to the flour mix. Beat it all together until you have a smooth but slightly tacky dough.

Leave in the bowl, covered with a damp tea towel or a plastic bag and then remove the bag and mix well for about 30 seconds. It will be soft enough for you to do this by hand. Sort of put your hand in the bowl, under the dough and mix it well. If you can't work this out then fold the dough over itself for about 8 turns. Should achieve the same outcome.

At 15 minute intervals, repeat this short kneeding process at least twice. By this time the dough shouldbe rising up the bowl and be soft and pillowy.

When the dough has at least doubled in size, put it in a greased baking tin. I tend to use a 26cm x 35cm baking tray that has 3cm sides. This makes a focaccia of the depth that you can see in the picture. If you want a thinner one then cook it in a larger tray.

Make sure that you have switched on your oven so that it is good and hot when you are ready to cook the focaccia.

Whisk the salamoia oil and water together and pour over the focaccia. Now dimple it with your fingers to get the charicteristic dimpling the you see on the focaccia surface. push some rosmary sprigs into the top of the focaccia and leave uncovered for another 10 minutes. Sprinkle with the rock sale.

Cook in a hot oven approx 250 celsius for adout 30 minutes. Check to see if it is cooked. It should be crisp and brown. If it isn't then leave it in the oven and check every 5 minutes until it is done to your liking.


Thursday 24 September 2015

Apricot and chocolate chip loaf cake


Do you really always want elaborate cakes? Sometimes I do and sometimes it is the downright simple that really hits the spot. So, on that note, this cake is going to be one of the downright simple variety and no  less good for that. It is perfect with a hot cup of tea.

One thing that my mother taught me about cooking was:

If you don't put good things into your food don't expect a good result.

So this cake is made with all good things but the making is simple.

What you'll need:

250g self raising flour
120g butter
120g sugar
2 eggs
perhaps a splash of milk
100g dried apricots, the no soak variety. Chop them up a bit
75g chocolate chips
a teaspoon of vanilla extract

To make:

heat your oven to approx gas mark 4 or 160 C.

Put the flour and sugar in a bowl. Add the butter and rub it into the dry ingredients until it resembles small peas. No need to be too fine with this.

Add the apricots that should be about the size of peas, and the chocolate. Stir in.

Break the egg into the mixture and stir well. Do't over stir as this mix is a bit like a muffin mix and you can toughen it if you over mix. Only add a splash of milk if you find that it's dry.

Put the mix into a greased a lined 2lb loaf tin and bake at approx gas mark 4 or 160 C. It will be cooked when as knife or cake probe is insirted into the middle and it comes out dry. Approx 30 - 40 mins. It depends on your oven.